Product edges
Make packaging, fabric, jewelry, and small product details feel clearer.
Improve edge clarity and perceived detail for photos, product shots, thumbnails, screenshots, and campaign assets.


Overview
Start from a focused image goal, then continue in the studio when you are ready to create the finished result.
Sharpening is useful when an image needs clearer edges, more readable texture, and a crisper subject without changing the overall look.
Megick lets sharpening pair naturally with upscale, enhancement, or prompt-guided edits when the image needs more than one pass.
Why use it
Practical ways to use this tool across product images, content, campaigns, and creative review.
Make packaging, fabric, jewelry, and small product details feel clearer.
Improve images that need to hold up at small sizes in feeds and search pages.
Refine UI captures, dashboards, and visual examples for documentation or product pages.
Results
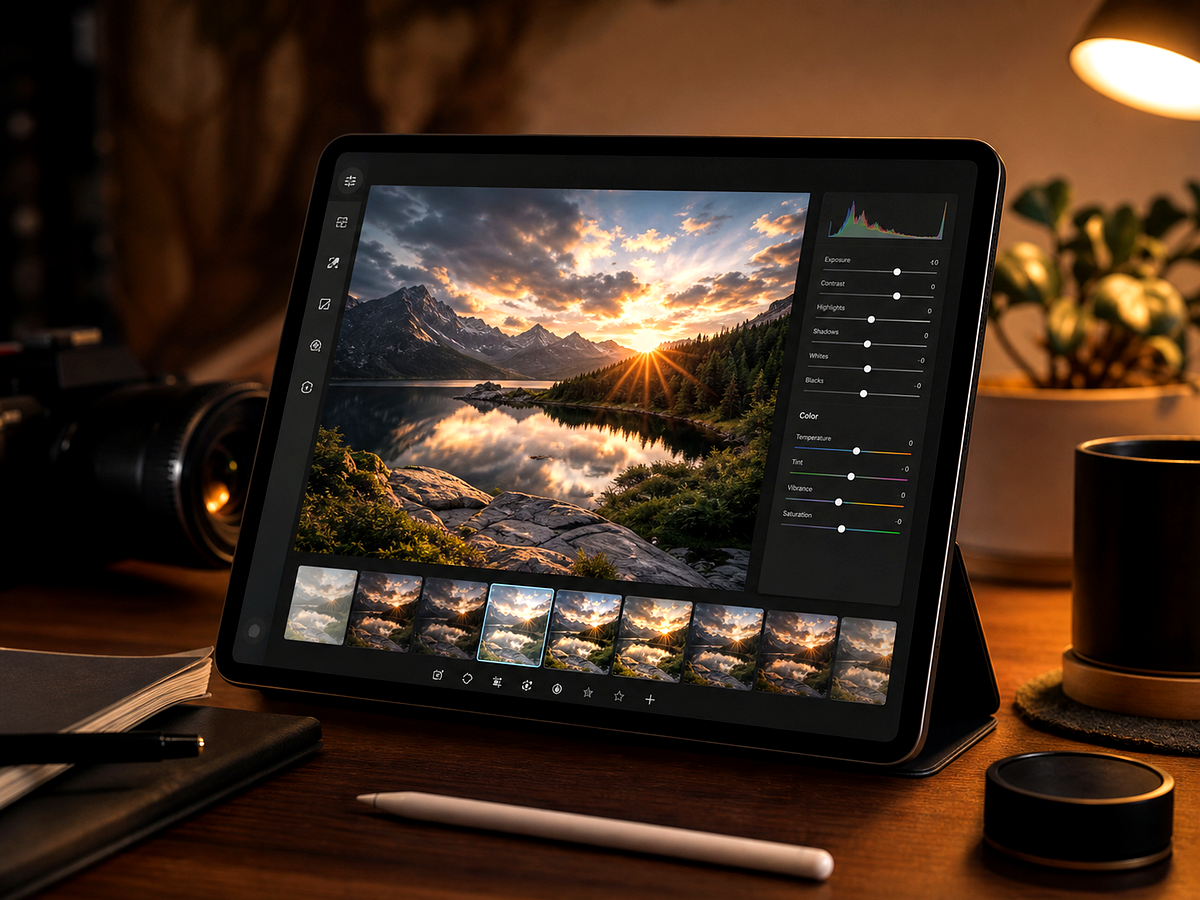
Compare the original image with the edited result. Move the handle to inspect edges, texture, lighting, and subject detail.

Create
Use the button when you are ready to work with prompts, references, variants, and follow-up edits in one workspace.
Continue in image studioSpecify whether the main focus is a face, object, texture, text, or interface.
Ask for natural sharpness, not harsh contrast or crunchy halos.
Compare outputs and keep the image that looks crisp without looking artificial.
Improvements
A quick view of the practical image improvements this tool is best suited to handle.
Feedback
The comparison view makes it easier to spot whether details stayed natural.
Having related image tools close by keeps cleanup, enhancement, and export decisions in one workflow.
The studio path is direct: open the image, describe the edit, compare, then keep the best result.
Related tools
Move between connected image tasks without losing your place.
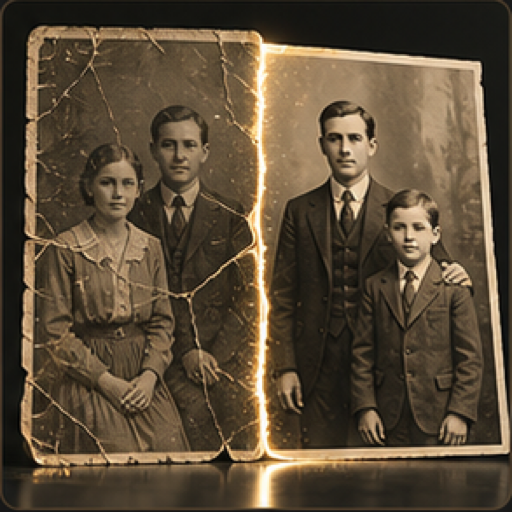
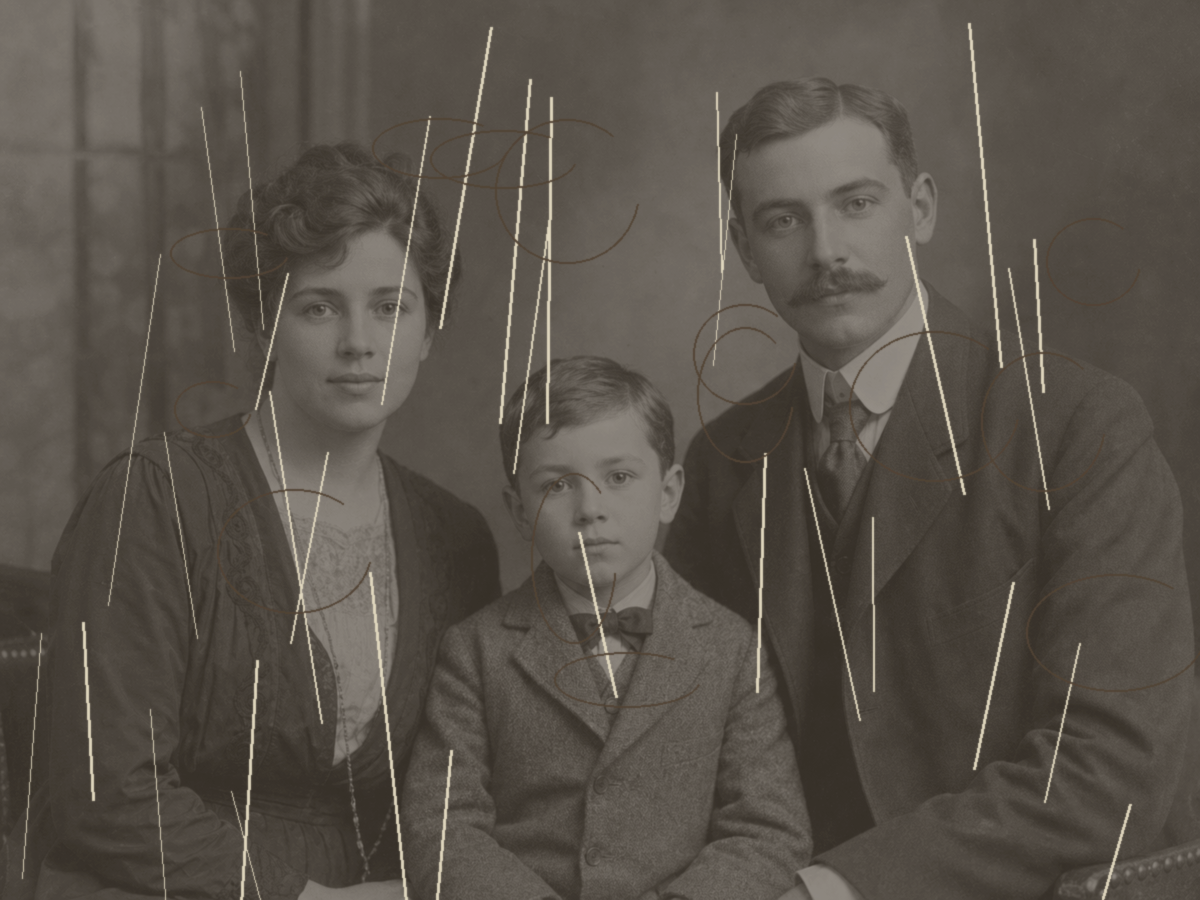
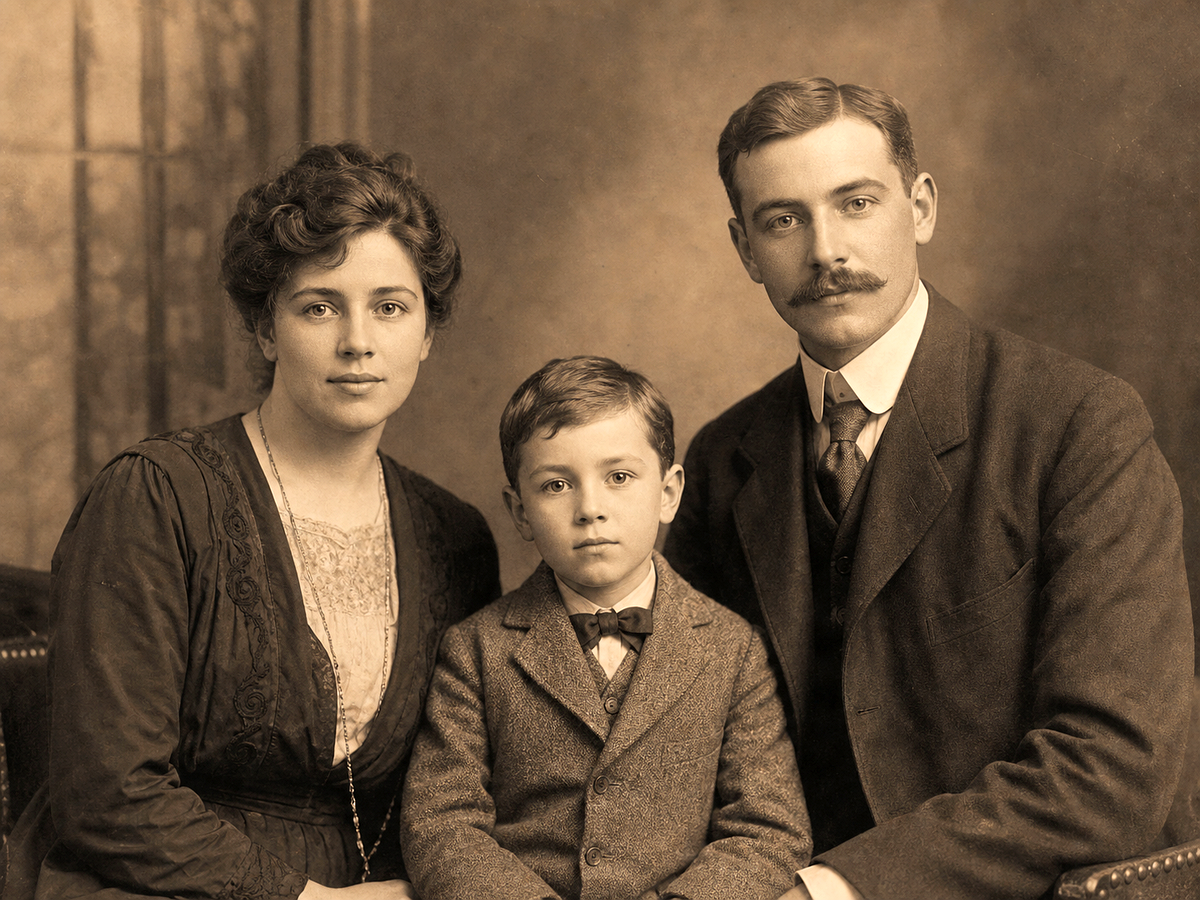
Repair aged, faded, scratched, or damaged photos with guided AI editing.
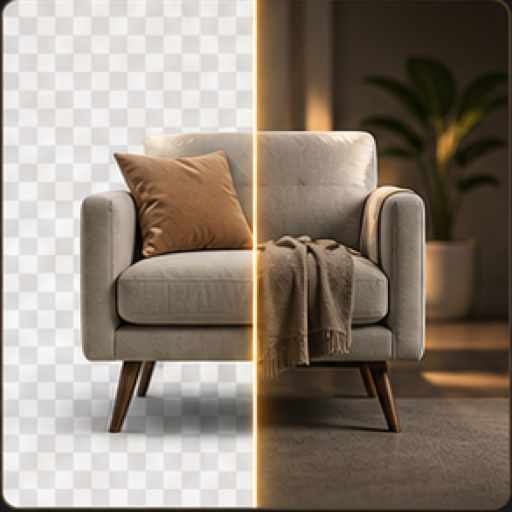
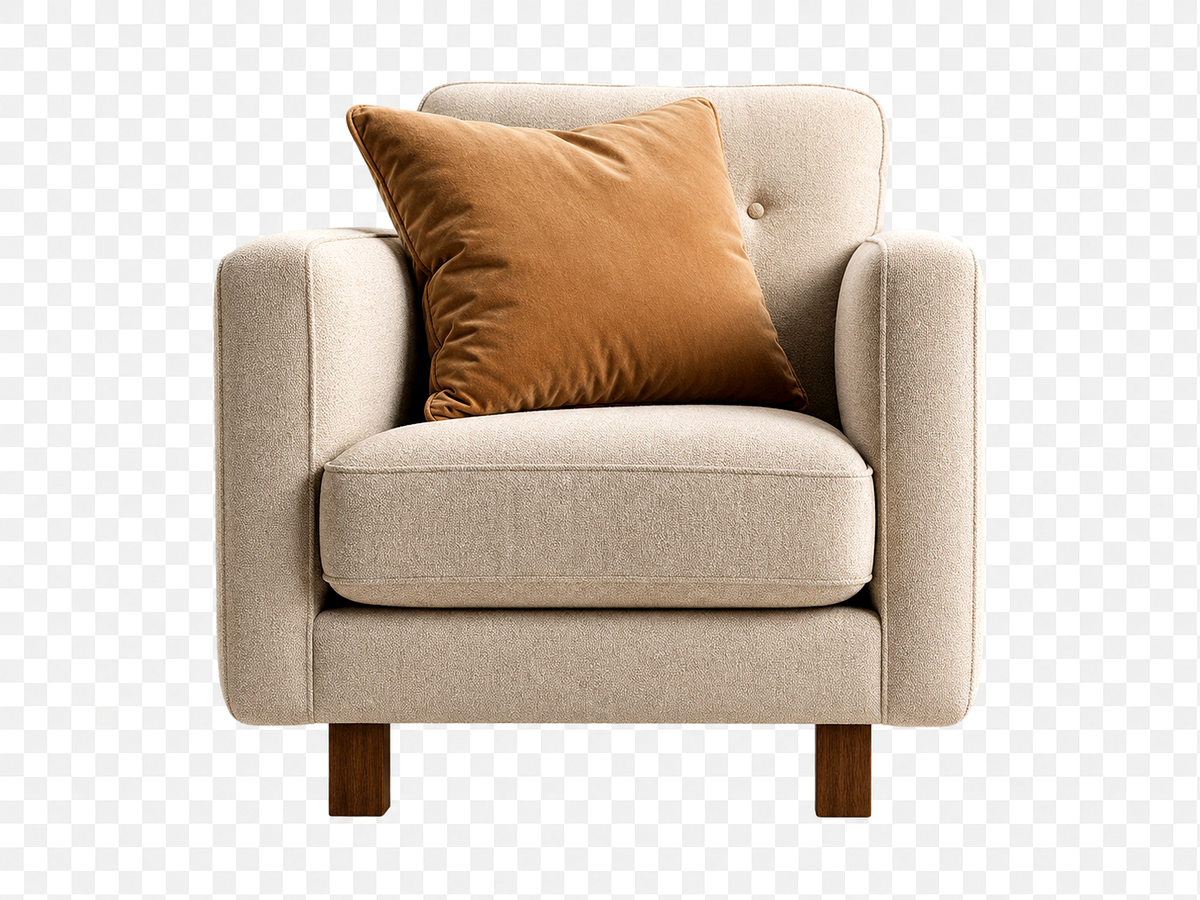
Remove or replace backgrounds for products, portraits, and marketing compositions.
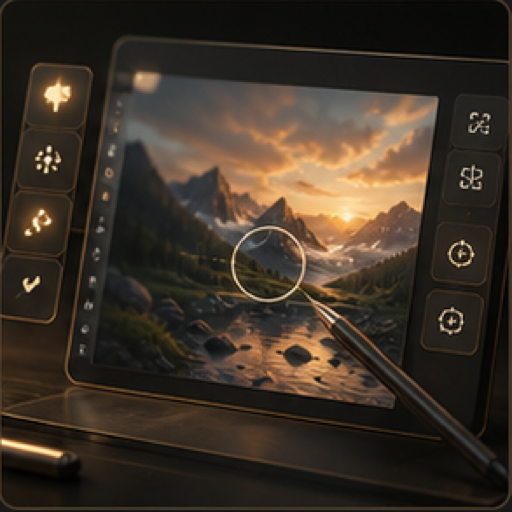
Edit, restyle, refine, and prepare image assets in one focused workspace.
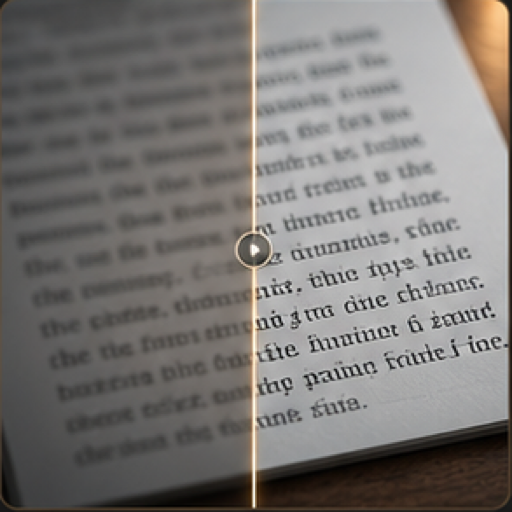
Improve readability in screenshots, scanned pages, labels, and text-heavy images.
FAQ
It improves edge clarity and local detail so an image appears crisper and more readable.
It can if pushed too far. Use prompts that ask for natural clarity and preserve the original look.
For many assets, upscale first and sharpen after reviewing the larger image.
For text-specific work, use Unblur Text and verify the final text against the source.
Continue to Megick to create, edit, compare, and save the finished image.