Product listing cleanup
Improve detail and presentation quality before publishing marketplace or store images.
Improve photo clarity, recover texture, balance contrast, and prepare images for commerce, social, and creative production.


Overview
Start from a focused image goal, then continue in the studio when you are ready to create the finished result.
Image enhancement is for assets that already work compositionally but need better quality, clearer detail, cleaner portraits, or more usable product presentation.
Megick brings enhancement together with references, edits, generation, and saved outputs so you can keep improving the image in one place.
Why use it
Practical ways to use this tool across product images, content, campaigns, and creative review.
Improve detail and presentation quality before publishing marketplace or store images.
Refine clarity, lighting, and texture while keeping the image natural.
Upgrade older blog, ad, and social images so they feel current and usable again.
Results
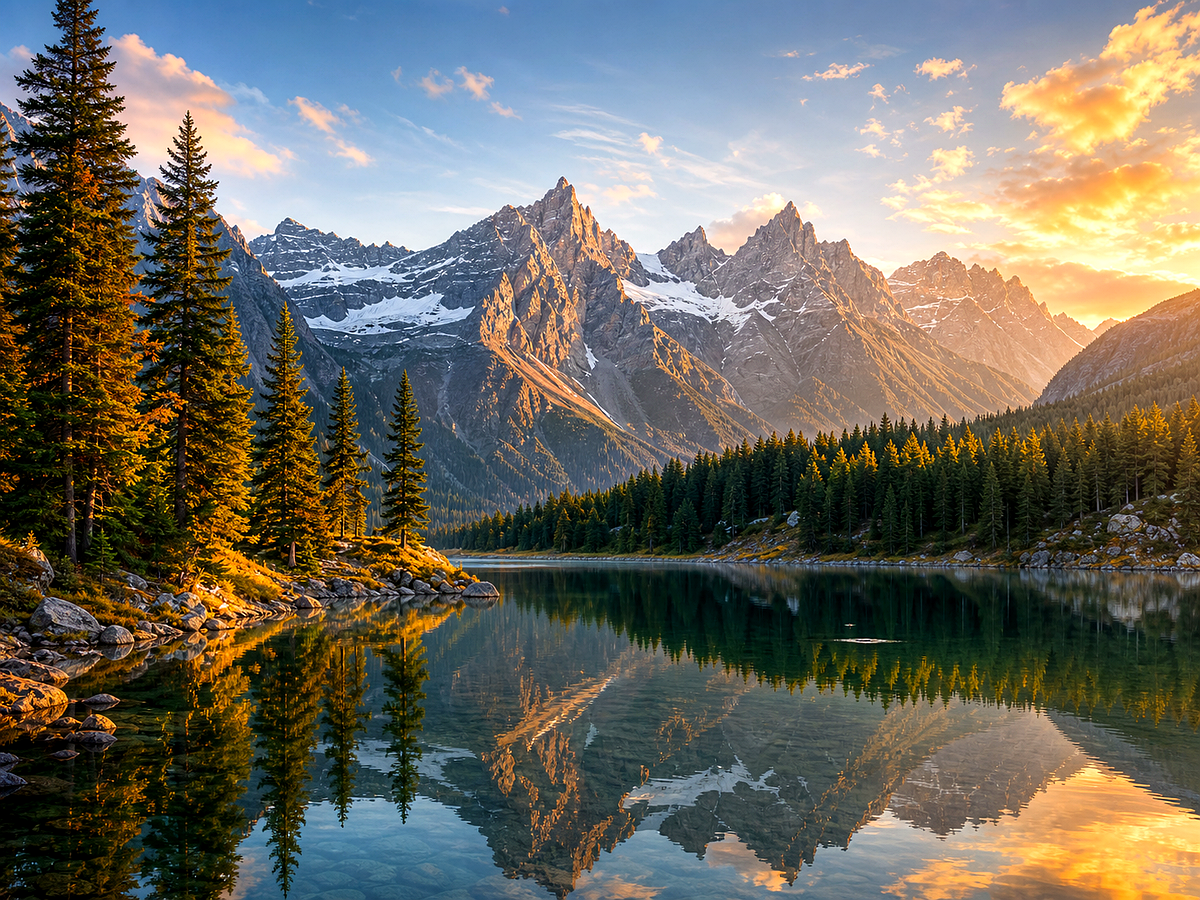
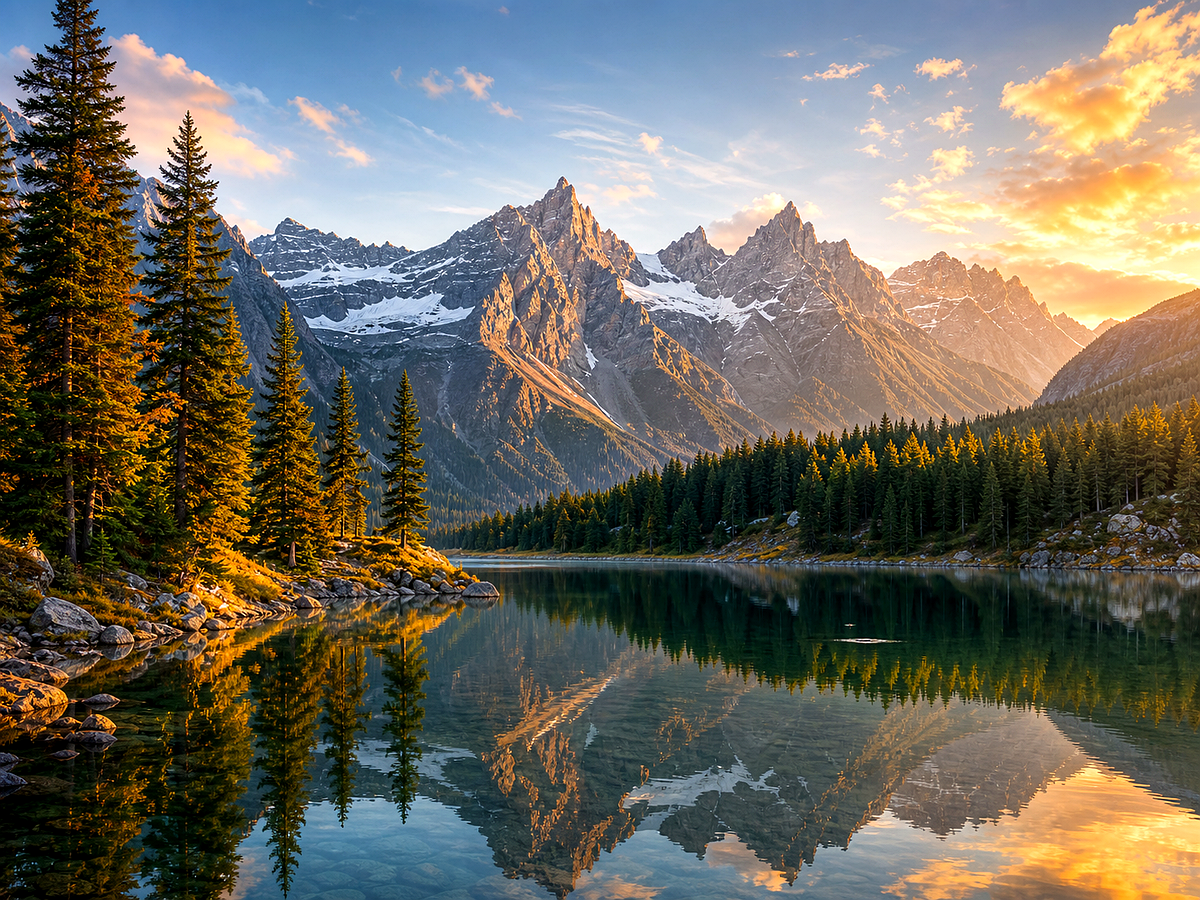
Compare the original image with the edited result. Move the handle to inspect edges, texture, lighting, and subject detail.



Create
Use the button when you are ready to work with prompts, references, variants, and follow-up edits in one workspace.
Continue in image studioOpen Megick and select a prompt, reference, or edit direction that matches the asset.
Use language such as clearer detail, natural texture, cleaner lighting, or sharper edges.
Review variants and keep the version that preserves intent while improving visible quality.
Improvements
A quick view of the practical image improvements this tool is best suited to handle.
Feedback
The comparison view makes it easier to spot whether details stayed natural.
Having related image tools close by keeps cleanup, enhancement, and export decisions in one workflow.
The studio path is direct: open the image, describe the edit, compare, then keep the best result.
Related tools
Move between connected image tasks without losing your place.
Prepare low-resolution images for larger displays, product pages, and print previews.
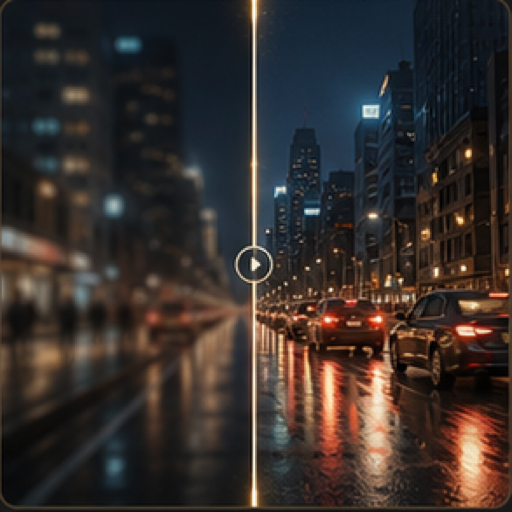
Reduce motion blur, camera shake, and soft focus in photos and visual assets.
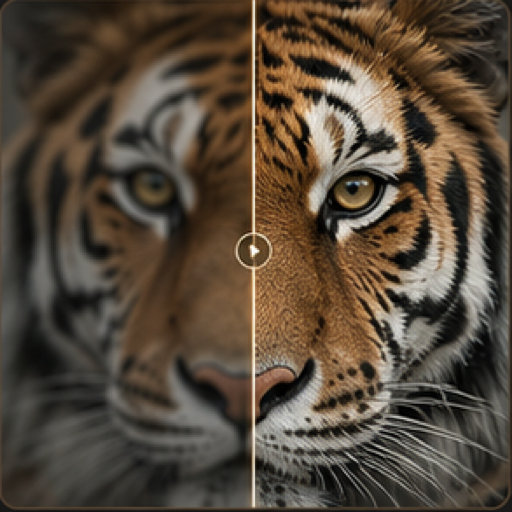
Add crispness to edges, subjects, and product details without rebuilding the image.

Repair aged, faded, scratched, or damaged photos with guided AI editing.
FAQ
It improves perceived quality by refining clarity, contrast, texture, lighting, and detail. Results depend on the source image and prompt direction.
No. Upscaling increases resolution. Enhancement focuses on clarity, detail, color, contrast, and overall image quality.
Yes. Product images are a strong use case, especially when you need cleaner detail and a more polished presentation.
Open Megick to enhance the image, compare variants, and keep the best result.
Continue to Megick to create, edit, compare, and save the finished image.