Website header images
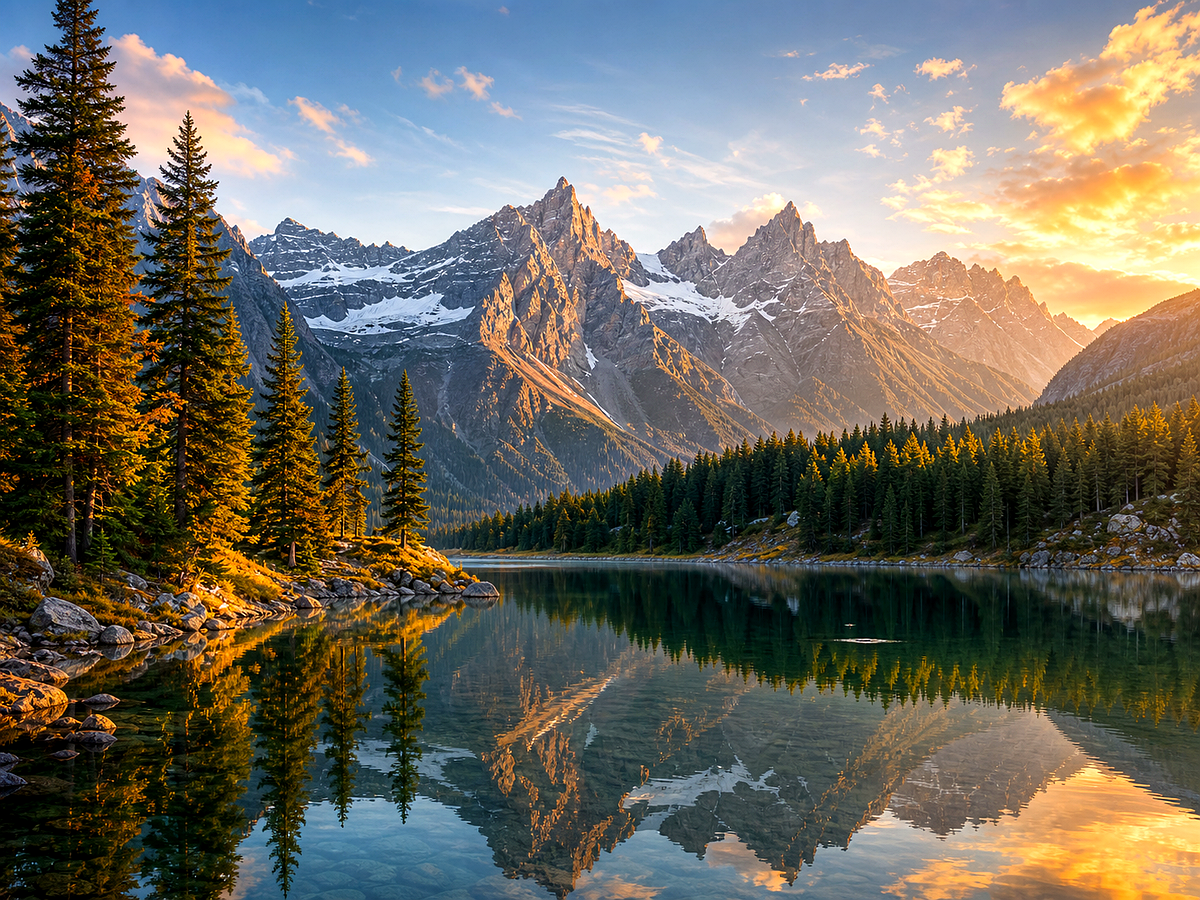
Prepare smaller images for wide sections where softness becomes obvious.
Take small or low-resolution visuals and prepare them for large web sections, ecommerce galleries, presentations, and creative review.
Overview
Start from a focused image goal, then continue in the studio when you are ready to create the finished result.
Use upscaling when an image is too small, pixelated, or soft for the place it needs to appear.
Megick helps prepare larger visuals for ecommerce headers, ad banners, presentations, and other formats where a weak source image can make the final design feel unfinished.
Why use it
Practical ways to use this tool across product images, content, campaigns, and creative review.
Prepare smaller images for wide sections where softness becomes obvious.
Create cleaner product visuals for zoomable product pages and category cards.
Give presentations and print drafts enough detail for confident review.
Results
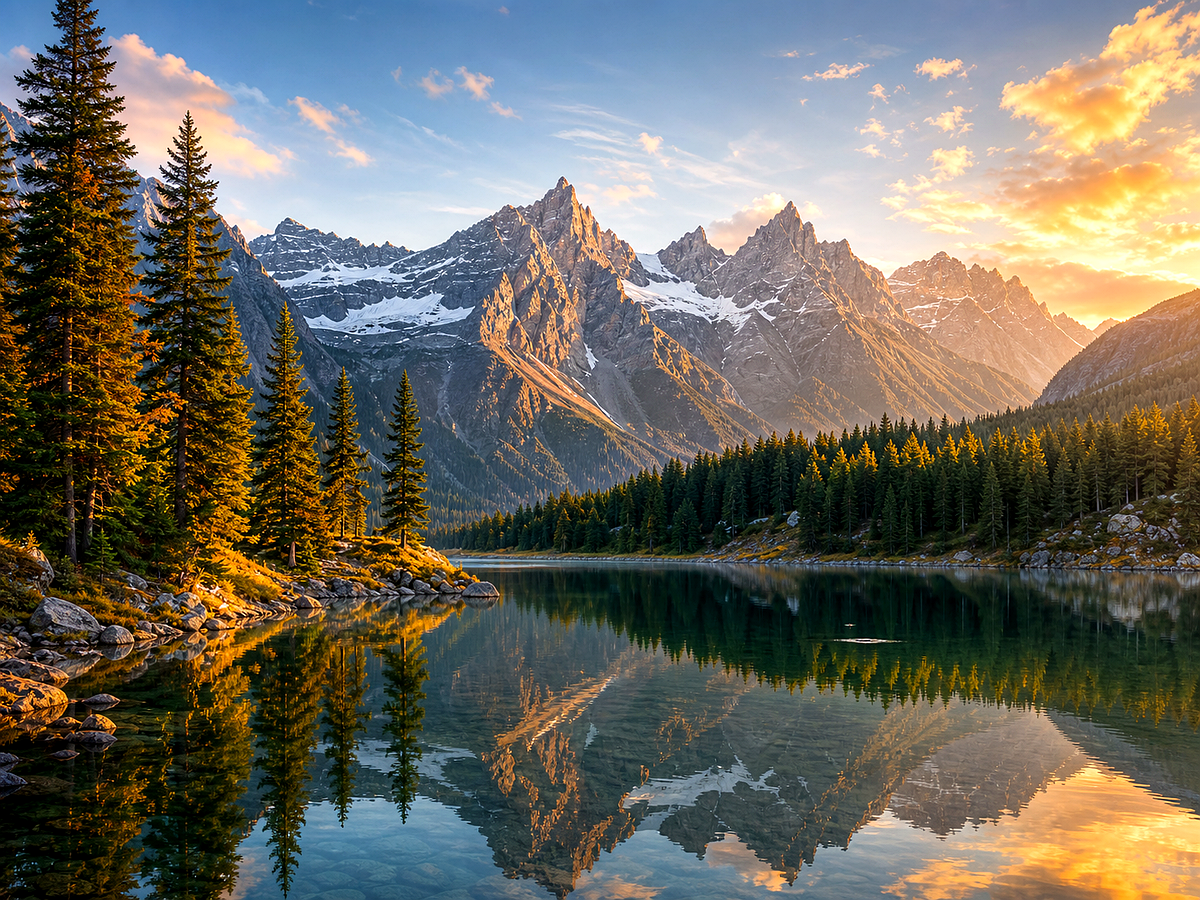
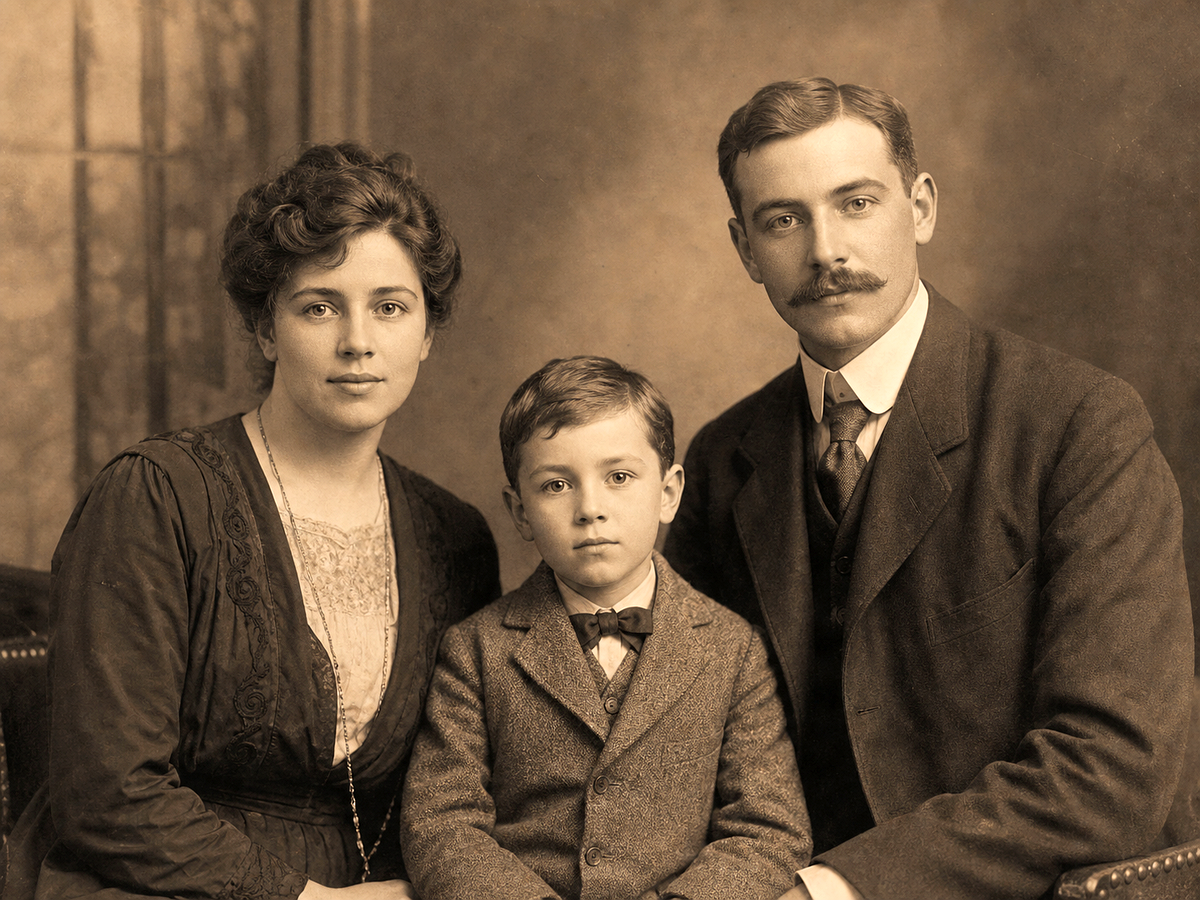
Compare the original image with the edited result. Move the handle to inspect edges, texture, lighting, and subject detail.



Create
Use the button when you are ready to work with prompts, references, variants, and follow-up edits in one workspace.
Continue in image studioBring in the visual you want to improve and decide where it will be used.
Mention where the asset will be used: website header, marketplace, poster, deck, or social.
Check edges, faces, text, and texture before saving the final asset.
Improvements
A quick view of the practical image improvements this tool is best suited to handle.
Feedback
The comparison view makes it easier to spot whether details stayed natural.
Having related image tools close by keeps cleanup, enhancement, and export decisions in one workflow.
The studio path is direct: open the image, describe the edit, compare, then keep the best result.
Related tools
Move between connected image tasks without losing your place.
Reduce motion blur, camera shake, and soft focus in photos and visual assets.
Add crispness to edges, subjects, and product details without rebuilding the image.
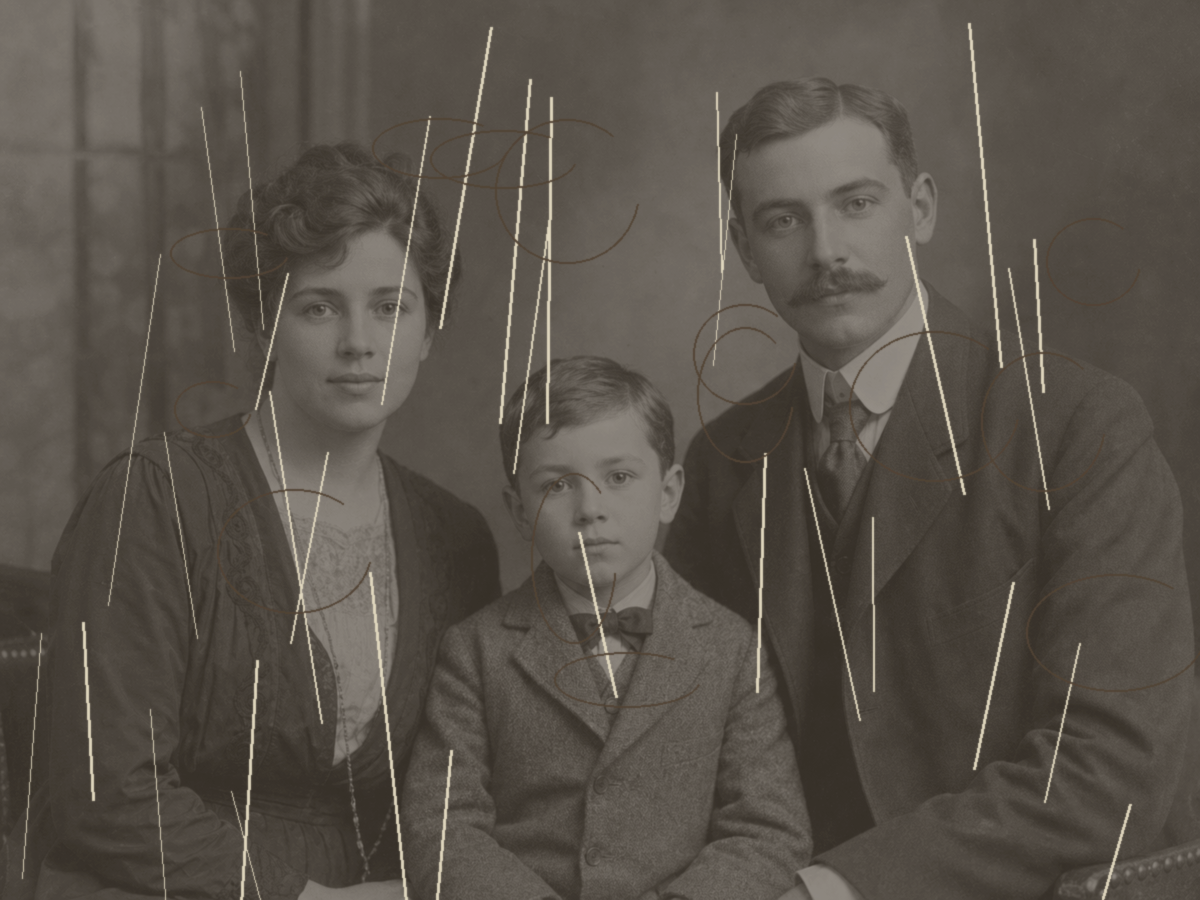
Repair aged, faded, scratched, or damaged photos with guided AI editing.
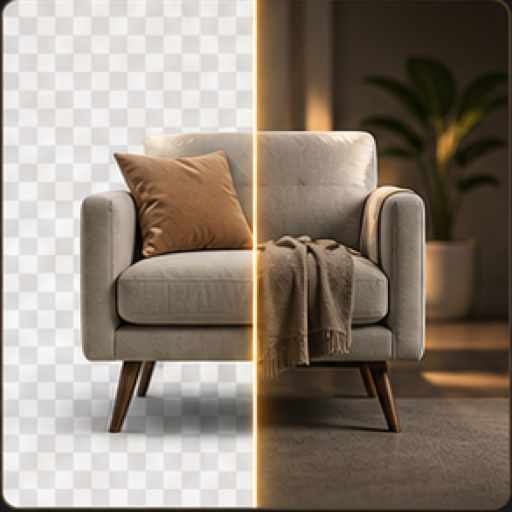
Remove or replace backgrounds for products, portraits, and marketing compositions.
FAQ
AI can create a larger, cleaner version of many images, though quality depends on the source. Always inspect faces, product edges, and fine text before publishing.
Use it when an image looks too small, pixelated, or soft for the format where it needs to appear.
No. It is best for improving usable assets, draft campaigns, and creative production when the original image is limited.
Upscaling often benefits from prompt guidance and follow-up edits, so Megick keeps those controls in the same workspace.
Continue to Megick to create, edit, compare, and save the finished image.